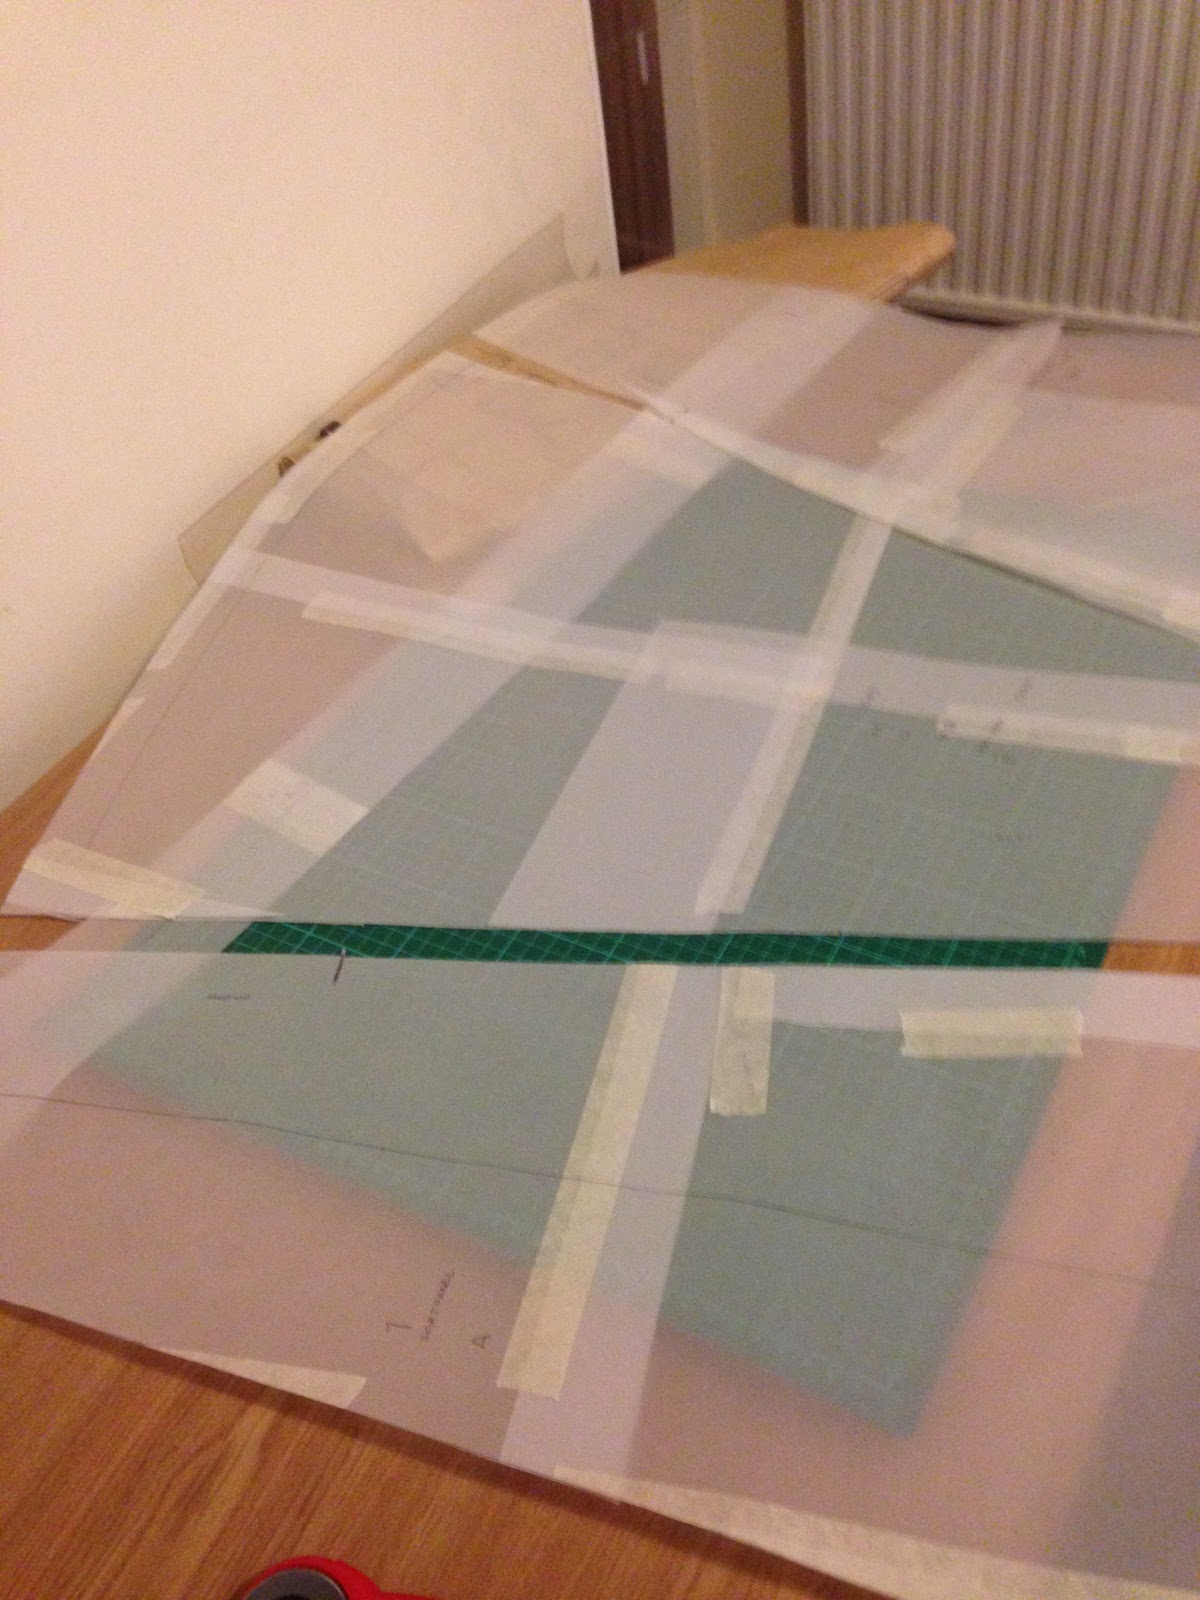
So I started with this
I didn't need the mat, rotary cutter of seam ripper initially, so moved them off the table.
I spread out the pattern, and hit issue one, my table is too small. This meant that I had to tape my sheets of tracing paper directly on to the pattern tissue, and move the sheets about to get all pieces traced. I stuck everything with masking tape, but when I had traced everything, I did find the pattern ripped slightly in a few places when I took it off.
I ended up with these pieces, having used my husbands tracing paper which is fairly thick.
The next problem was laying the pieces out on my fabric. Again, my table was much too small, and in future I think I will resort to the floor. My fabric was folded, and I had to cut 4 lots of piece 2, which gave me 8 panels. The first set I did, I forgot to transfer the markings from the pattern to the piece, so had to line it up again.
I found the marking quite tricky, and in the end went for two methods. For the curved hem allowance, I made long loopy stitches along the line, and then for the straight center line I used chalk and a long ruler. For the stiches, I then snipped the loops and got a line of thread tufts to show me where to fold.
I mostly used the rotary cutter and cutting mat, although I did find my little embriodary scissors helpful for small areas.
The instructions then suggested joining the right seams together, using the 5/8" seam allowance included in the pattern. So I pinned at right angles to the stitching line to secure the fabic before starting sewing.
And that was me, all set up and ready to sew. Do you get prepared any differently?


Hi, Welcome to sewing and Burda World. I've been using Burda patterns since the 90s and love them. Look forward to seeing the completed garment.
ReplyDeleteLinda
Thank you, the pattern has been very easy to follow, so imagine I will make a few of these
Delete